
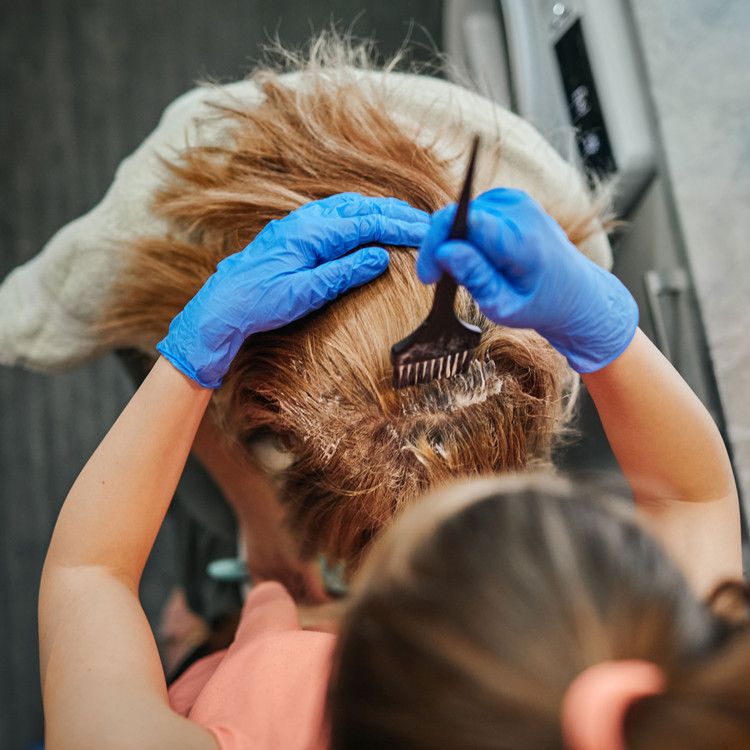
There’s a version of you that’s completely comfortable DIY-ing most things. You’ll repaint a room, assemble flat-pack furniture, attempt a soufflé. But hair color has always been that one thing you handed off to a professional — because the consequences of getting it wrong live on your head, visible, for weeks.
Except now you’re staring at a box of dye at the drugstore, and it doesn’t seem that complicated. It isn’t — with the right preparation. But it also isn’t as forgiving as the box might suggest. Here’s everything you need to know before you open that box.

Before Anything Else: Talk to a Colorist
This advice sounds counterintuitive in a DIY guide, but it’s the most valuable thing in it. Before you buy a single product, consider reaching out to your usual colorist — or any colorist — for a quick digital consultation. Most are open to it, especially for a paying client.
Why? Because the biggest at-home hair color mistakes happen before the product even touches your hair. A professional can tell you which formula is right for your hair type, which shade will actually work with your undertone, and whether what you’re trying to do is even achievable without salon equipment. Ten minutes of expert input can save you three weeks of hat-wearing.
If a consultation isn’t possible, the rest of this guide will get you through it.
Step One: Choose the Right Type of Color
The first decision — permanent vs. semi-permanent — matters more than the shade itself.
Semi-permanent contains no bleach, no ammonia. It deposits color on top of your hair rather than penetrating the shaft, which means it fades gradually over 4–6 weeks and won’t cause lasting damage. It’s the safer, gentler choice, especially if you’re new to this or working with hair that’s already been chemically treated.
Permanent also contains no bleach, but it does open the hair cuticle to deposit color that won’t wash out. It’s more effective for covering grays fully and for significant color changes — but it’s also more committing and more taxing on your strands.
A note on ingredients: look for formulas that are free of both ammonia and PPD (paraphenylenediamine). Ammonia is harsh on the hair shaft; PPD is the most common allergen in hair dye. Plenty of modern formulas skip both without sacrificing effectiveness.
And regardless of which product you choose: do the allergy patch test 24 hours before coloring. Every time. Even if you’ve used the same brand before. Sensitivities develop over time.

What Are You Actually Trying to Do?
The approach changes significantly depending on your goal. Here’s how to think through each scenario.
Covering Grays
Your main task here is accurate color matching — and the most common mistake is matching the wrong thing.
Don’t match to an old photo of your hair, or to how you remember your color looking. Instead, look at the hair at the nape of your neck, where sun exposure is minimal and the color is closest to your natural, unaffected base. Better still: part your hair straight back from crown to nape, clip both sides out of the way, and photograph the center section in natural light. That image will give you a much more accurate read on your true base color than anything else.
One important caveat: root touch-up products are formulated specifically for the regrowth zone. They’re not designed to cover the length of your hair. If you want an all-over color refresh, that’s a different product and a different process.
Changing Your Whole Color
Here you’re picking a new shade rather than matching an existing one, which means navigating two variables: shade and tone.
Shade is simply how light or dark the color is. The consistent trap people fall into is going too dark — dark shades applied at home tend to look flat and one-dimensional compared to what a salon achieves with depth and dimension. If you’re between two shades, go half a step lighter than your instinct. If you want something close to black, choose a deep espresso brown instead. It’ll read more naturally in real light.
Tone is the warm-cool spectrum within any shade — and this is where the nuance lives. In general, cool-toned people look best with cooler hair colors, and warm-toned people with warmer ones. To find your undertone, look at the veins on the inside of your wrist in natural light: blue veins suggest cool undertones, green suggests warm, and a mix of both means you’re neutral (in which case, most tones will work for you).
The shade name will usually signal its tone if you know what to look for. Cool blondes are described as icy, ashy, or platinum. Warm blondes are golden, honey, or wheat. Cool brunettes lean smoky or mocha; warm brunettes tend toward chestnut, auburn, or caramel.
What About Going Lighter?
Short answer: be careful.
If your goal is significantly lighter hair — actual blonde on a dark base — you need bleach. A blonde box dye on dark hair without bleach won’t give you blonde. It’ll give you orange, possibly uneven orange, and it won’t be what you had in mind.
The problem with bleaching at home isn’t just that it’s technically difficult (it is) — it’s that over-the-counter bleach is both less powerful and less sophisticated than what professionals use. The window between “not light enough” and “seriously damaged” is narrower than it looks, and there’s no fixing a botched bleach job quickly.
If you’re determined to go lighter, a semi-permanent gloss is a smarter starting point. Glosses are sheer, translucent, and designed to refresh and brighten your existing color rather than dramatically alter it. They’re also remarkably effective at evening out patchiness, adding shine, and making color that’s grown dull look fresh again — all without the commitment or the risk.
Tools You’ll Actually Need
Most box dye kits include gloves and a developer. Some include an applicator bottle or brush. Before you assume you have everything, check what’s actually in the box and fill in the gaps:
- Gloves — if not included, get them. Non-negotiable.
- Applicator brush — for more controlled, even application than the squeeze bottle allows, especially around the hairline and roots
- Old t-shirt and towels — hair dye stains fabric permanently. Designate something you don’t care about.
- Petroleum jelly or barrier cream — applied along your hairline, ears, and neck before you start. Keeps dye off your skin and makes cleanup much easier
- Tangle Teezer or wide-tooth comb — for distributing color evenly through the lengths
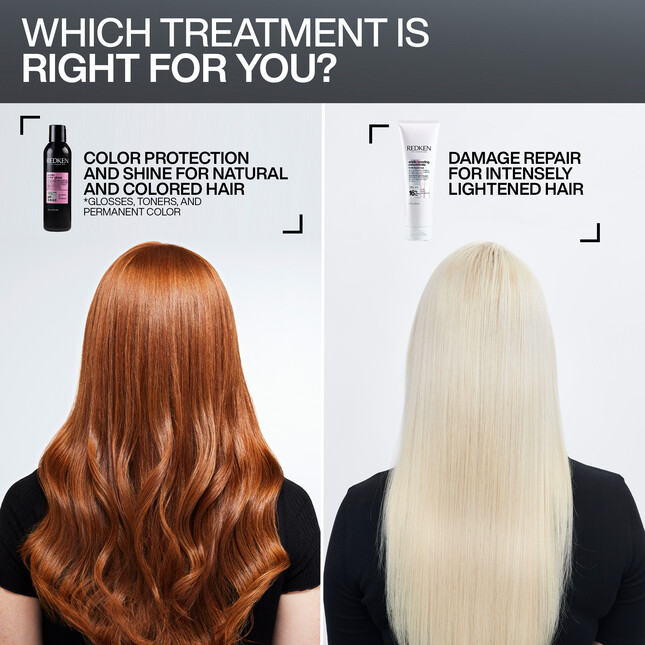
- Color-safe shampoo and conditioner — regular shampoo strips color faster. Switch to a color-protecting formula starting with your first wash after coloring
- Strengthening or bond-repair treatment — the coloring process is inherently damaging to the hair shaft. A bond-building treatment used in the week after coloring makes a measurable difference in texture and longevity
The Application: Where Most People Go Wrong
Watch at least two tutorial videos before you start — ideally for your specific hair type and goal. The technique varies enough between root application, all-over color, and gloss that it’s worth seeing it done before you attempt it.
A few universal rules:
Work in sections. Trying to apply color to unsectioned hair leads to uneven coverage. Clip your hair into quadrants and work methodically through each one.
Don’t rush the timing. The box instructions are calibrated for a reason. Setting a timer and actually following it matters — especially with permanent color. Leaving it on longer doesn’t mean more color; it often means more damage.
Rinse thoroughly. Rinsing until the water runs completely clear takes longer than you think. Residual developer left in the hair continues to process and can cause over-processing and brassiness.
Don’t wash your hair for 48 hours after coloring. The color is still settling during this window. Washing too soon shortens the life of the result significantly.
After Care: Making It Last
The color you apply today fades based almost entirely on what you do in the weeks after. A few habits that extend the life of any at-home color job:
- Wash with cool or lukewarm water — hot water lifts the cuticle and accelerates color fade
- Use a color-depositing conditioner in the same tone as your dye once a week
- Limit heat styling where possible, or use heat protectant religiously when you don’t
- UV exposure fades color — if you’re spending time in the sun, a UV-protective hair product is worth adding
The Honest Reality Check
At-home hair color has gotten genuinely good. Modern formulas are more sophisticated, gentler, and more predictable than they were even five years ago. For covering grays, refreshing existing color, or making a modest shade shift, the results you can achieve at home are closer to a salon visit than most people expect.
What at-home color cannot do: replicate the dimensional depth of a professional balayage or highlight, safely lift dark hair to true blonde, or reliably produce a result that’s far removed from your natural base. Know what category your goal falls into before you commit, and you’ll save yourself both the frustration and the recovery time.
First time coloring at home, or a seasoned box-dye veteran? Drop your tips — and horror stories — in the comments.